Chewy Homemade Granola Bars The Perfect Snack
Chewy Homemade Granola Bars are a revelation! Forget those crumbly, overly sweet, store-bought options. If you’ve ever dreamt of a perfectly balanced, satisfyingly chewy, and incredibly versatile snack that you can whip up in your own kitchen, then you’ve come to the right place. We all love a good granola bar for its portability and energy-boosting qualities, but what makes these chewy homemade granola bars truly special is the control we have over every single ingredient. You get to decide the perfect level of sweetness, the ideal mix of nuts and seeds, and of course, that signature delightful chewiness that makes every bite a pleasure. They’re perfect for school lunches, post-workout refuels, or simply an afternoon treat that feels both wholesome and utterly delicious.
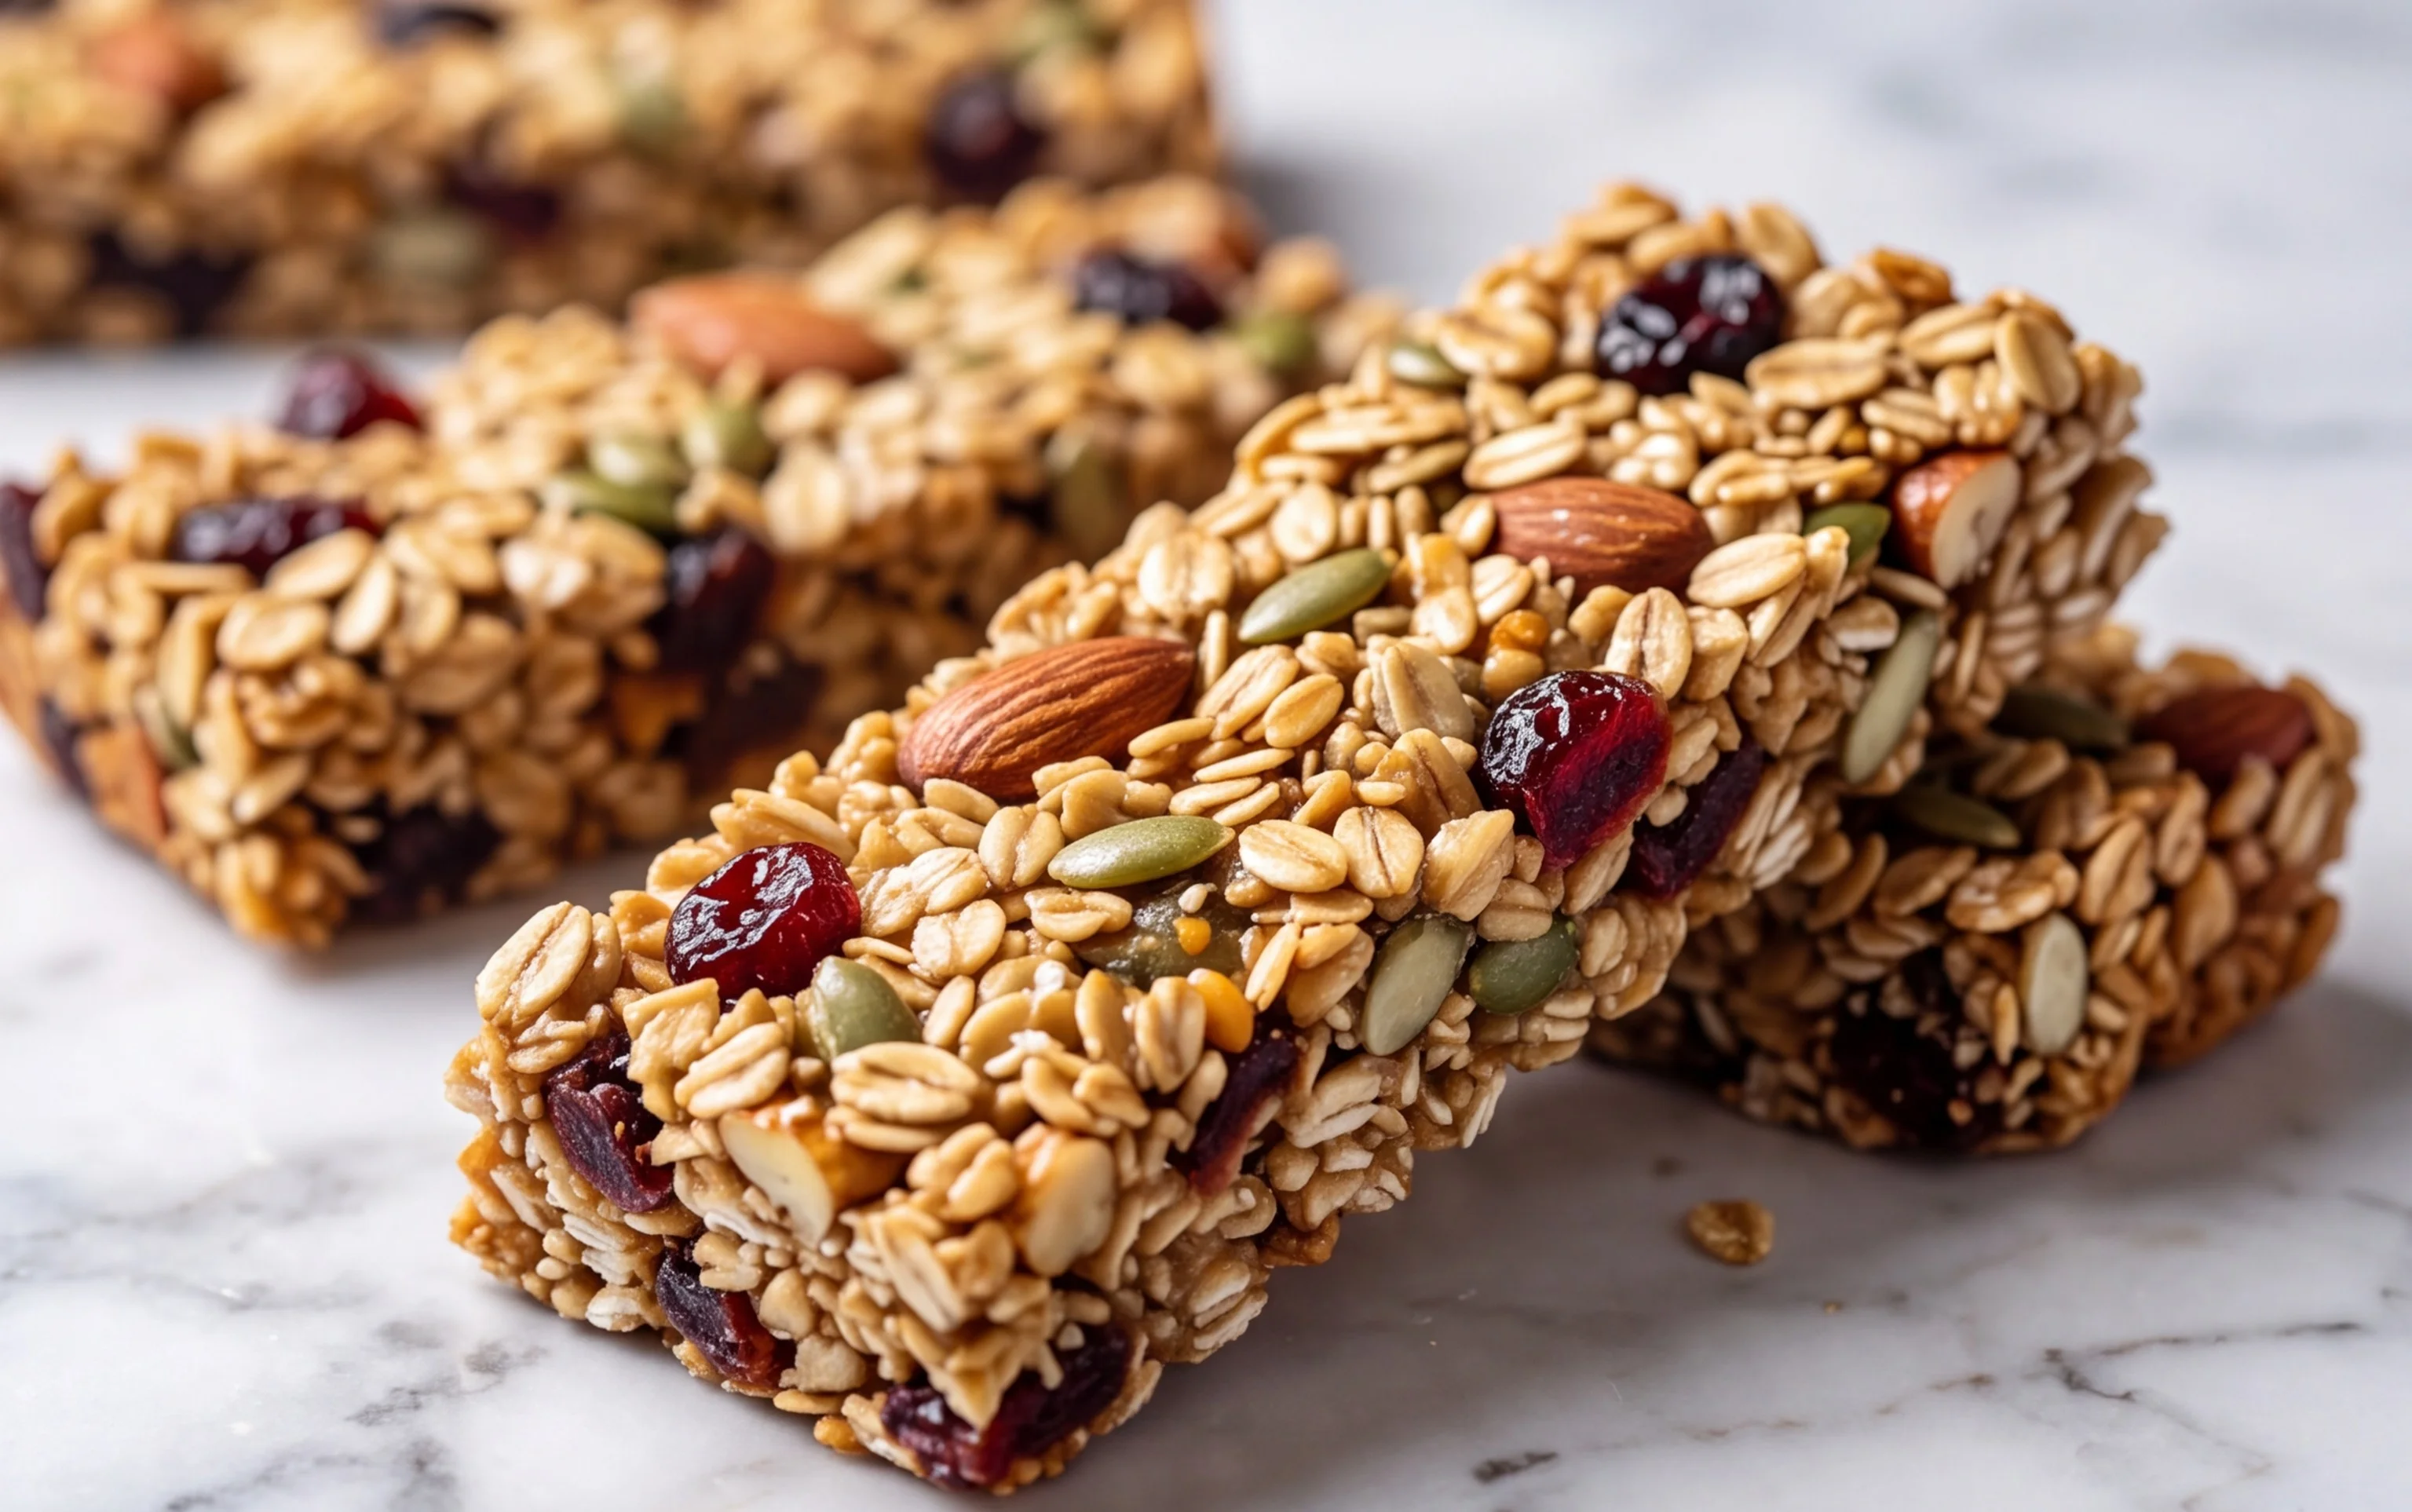
Chewy Homemade Granola Bars Recipe
There’s something incredibly satisfying about a homemade granola bar. Forget the crumbly, dry versions you might have tried; today we’re making truly *chewy* bars that are packed with flavor and that perfect, satisfying texture. These bars are wonderful for breakfast on the go, an afternoon pick-me-up, or even a sweet treat after dinner. They strike a delightful balance between wholesome oats and sweet, gooey goodness, with just enough crunch from the Rice Krispies and graham crackers. Plus, the mini chocolate chips and cereal marshmallows add a fun, nostalgic touch that makes them irresistible. Making your own granola bars is surprisingly simple and allows you to control exactly what goes in, avoiding those mystery ingredients often found in store-bought options. Let’s get started!
Ingredients:
- 6 tablespoons unsalted butter
- 6 tablespoons brown sugar (, packed)
- 2/3 cup honey
- 3 cups rolled oats
- 1 1/2 cups Rice Krispies cereal
- 1/2 cups graham crackers (, crushed in pieces and crumbs)
- 1/2 teaspoon salt
- 1/2 cup mini chocolate chips
- 1/2 cup cereal marshmallows
Getting Started: Preparation is Key
Before you dive into mixing, it’s essential to get all your ingredients prepped and ready. This makes the entire process smoother and ensures even cooking. For the graham crackers, you’ll want to crush them into a mix of small pieces and finer crumbs. You can do this by placing them in a zip-top bag and gently hitting them with a rolling pin or the bottom of a sturdy glass. Don’t aim for powder; you want some texture. For the cereal marshmallows, make sure they are fresh. Stale marshmallows can become hard and less delightful. Have all your dry ingredients measured out and ready to go.
The Gooey Binder: Creating the Sweet Base
The secret to wonderfully chewy granola bars lies in the binder. This is where the butter, brown sugar, and honey come together to create that irresistible sticky goodness that holds everything else in place.
- Melt the Binder Ingredients: In a medium saucepan over medium heat, combine the 6 tablespoons of unsalted butter, 6 tablespoons of packed brown sugar, and 2/3 cup of honey. Stir the mixture constantly as it heats. You want to melt the butter and dissolve the sugar completely. Avoid letting the mixture boil vigorously; a gentle simmer is perfect. Continue stirring until the mixture is smooth and well combined, which usually takes about 3-5 minutes. This sweet, liquid base will be the glue that holds all your delicious ingredients together.
Combining the Dry Ingredients: Building the Bar’s Structure
Now it’s time to add the foundational elements that give our granola bars their body and satisfying chew. This is where the oats, cereals, and graham crackers come into play.
- Combine Dry Ingredients: In a large mixing bowl, combine the 3 cups of rolled oats, 1 1/2 cups of Rice Krispies cereal, the crushed graham crackers, and 1/2 teaspoon of salt. Stir these dry ingredients together thoroughly. The salt is important not only for flavor enhancement but also to balance the sweetness of the binder. Make sure the salt is evenly distributed throughout the oat mixture.
Bringing it All Together: The Magical Mix
This is the crucial step where the wet binder is introduced to the dry ingredients. Proper mixing here is key to achieving that perfect chewy texture.
- Mix Wet and Dry: Pour the warm, melted binder mixture from the saucepan into the large bowl with the dry ingredients. Using a sturdy spoon or a silicone spatula, stir everything together until all the dry ingredients are thoroughly coated with the sweet liquid. You want to ensure there are no dry pockets of oats or cereal. This step requires a bit of muscle; make sure to scrape the sides and bottom of the bowl to incorporate everything.
The Sweet Additions: Chocolate and Marshmallow Magic
These are the fun additions that elevate our granola bars from good to spectacular! Adding them at the right time ensures they don’t completely melt or get lost in the mix.
- Fold in Chocolate Chips and Marshmallows: Once the dry ingredients are well coated, gently fold in the 1/2 cup of mini chocolate chips and 1/2 cup of cereal marshmallows. It’s important to do this once the mixture has cooled slightly from being on the heat, but is still warm enough to be pliable. If the mixture is too hot, the chocolate chips will completely melt into the binder, and the marshmallows might become too gooey and stick to everything. Fold them in just enough to distribute them evenly throughout the mixture. Some marshmallows may slightly soften, which is perfectly fine and contributes to the chewiness.
Pressing and Setting: The Final Form
This is where our delicious mixture transforms into the bars we’ve been dreaming of. Proper pressing is crucial for bars that hold their shape.
- Press into Pan: Line a 9×13 inch baking pan with parchment paper, leaving some overhang on the sides to help lift the bars out later. This is a very helpful trick! Spoon the granola mixture into the prepared pan. Now, the most important part for achieving dense, chewy bars: *press the mixture down firmly and evenly*. You can use the back of your spoon, a flat-bottomed glass, or even your hands (lightly greased or wet to prevent sticking) to compact the mixture. The firmer you press, the more cohesive and less crumbly your bars will be. Spend a good few minutes on this step, really working to get it as dense as possible. Once pressed, place the pan in the refrigerator for at least 1-2 hours to allow the bars to set. This chilling process is vital for them to firm up properly before cutting.
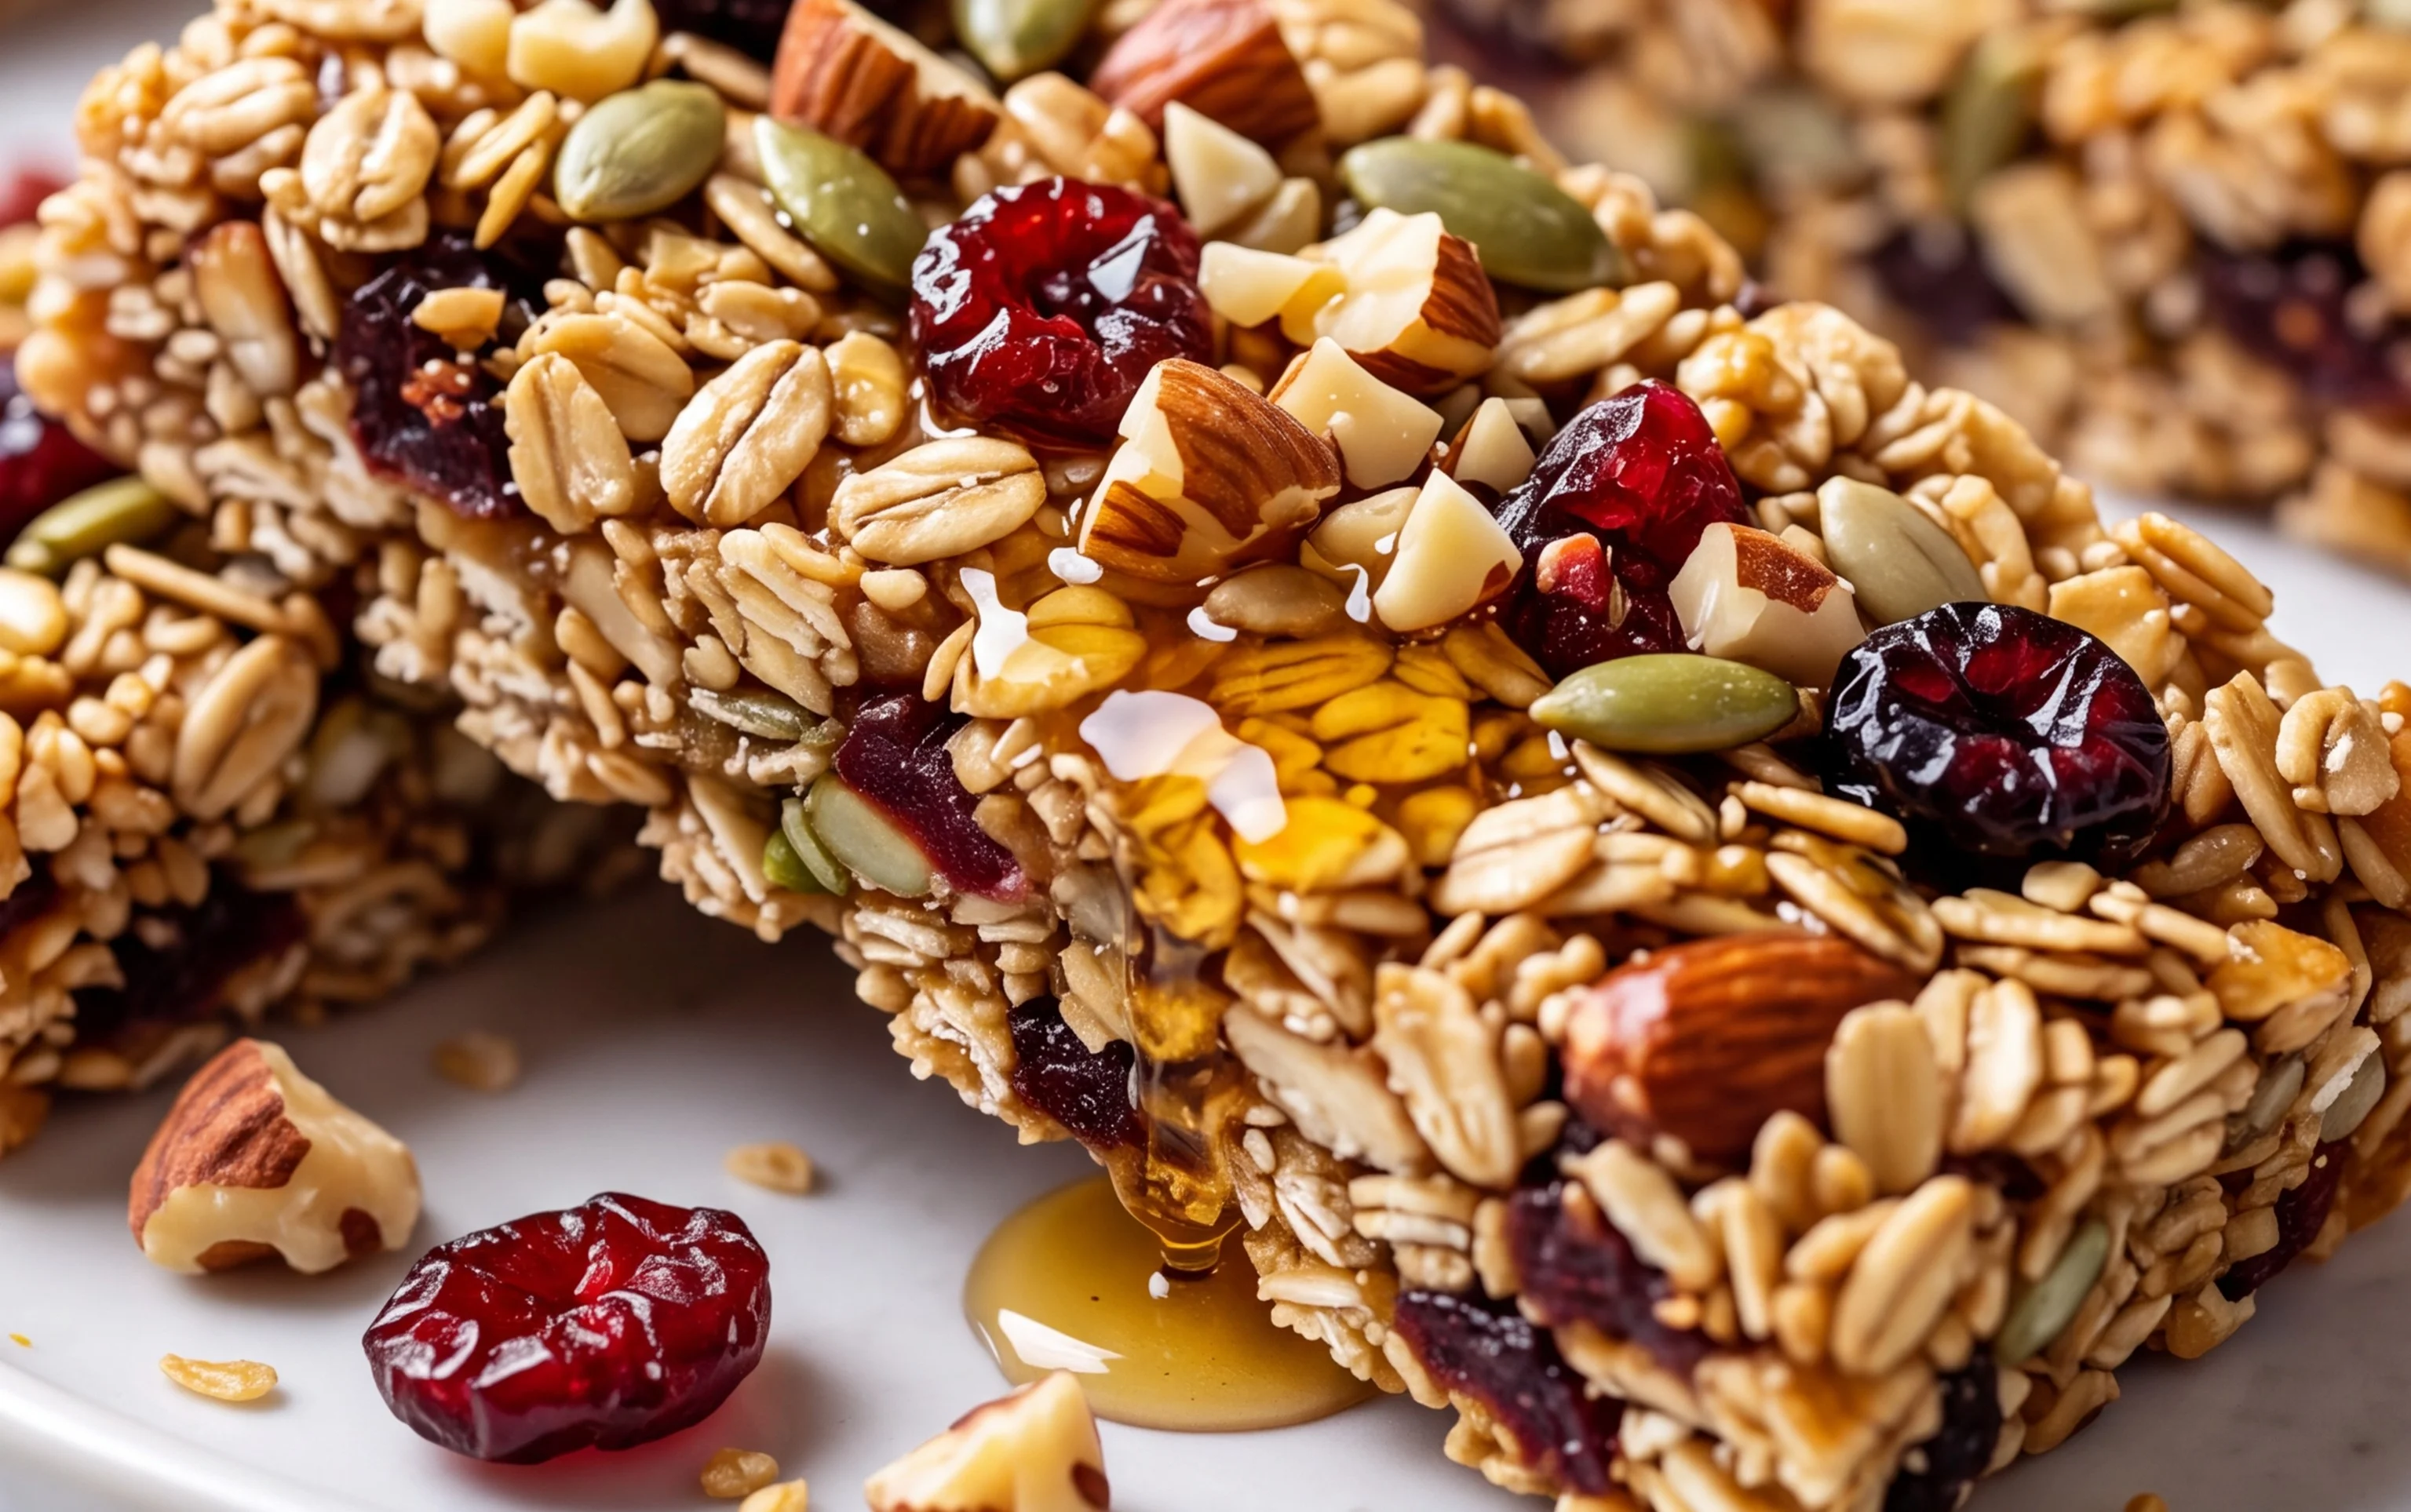
After the chilling time, lift the entire slab out of the pan using the parchment paper overhang. Place it on a cutting board and use a sharp knife to cut into your desired bar size. Enjoy your wonderfully chewy homemade granola bars! Store them in an airtight container at room temperature for up to a week, or in the refrigerator for longer.
Conclusion:
Congratulations! You’ve mastered the art of creating incredibly chewy homemade granola bars. This recipe is truly a winner because it offers unparalleled customization, allowing you to tailor the flavors and textures to your exact liking. Unlike store-bought bars, you control the sweetness, the types of nuts and seeds, and can even sneak in superfoods or decadent chocolate chips. The satisfaction of pulling perfectly chewy bars from your own oven is immense, and the aroma that fills your kitchen is simply divine. These bars are perfect for a quick breakfast on the go, a satisfying afternoon snack, or even a post-workout refuel. Feel free to experiment! Add dried cranberries for a tart kick, introduce a handful of shredded coconut for tropical notes, or swirl in some nut butter for extra richness. Don’t be afraid to get creative with your favorite spices like cinnamon or nutmeg. I wholeheartedly encourage you to give this chewy homemade granola bar recipe a try – I promise you won’t regret it!
Frequently Asked Questions:
Q: How should I store my chewy granola bars?
A: To maintain their perfect chewiness, store your homemade granola bars in an airtight container at room temperature for up to a week. If you live in a very warm climate, you might consider refrigerating them, though they can become a bit firmer when cold.
Q: Can I make these granola bars gluten-free?
A: Absolutely! To make this recipe gluten-free, simply ensure you use certified gluten-free oats. All other common ingredients like nuts, seeds, dried fruits, and sweeteners are naturally gluten-free.
Chewy Homemade Granola Bars
Deliciously chewy homemade granola bars packed with oats, cereal, graham crackers, chocolate chips, and marshmallows. Perfect for a quick breakfast or snack.
Ingredients
-
6 tablespoons unsalted butter
-
6 tablespoons brown sugar (, packed)
-
2/3 cup honey
-
3 cups rolled oats
-
1 1/2 cups Rice Krispies cereal
-
1/2 cups graham crackers (, crushed in pieces and crumbs)
-
1/2 teaspoon salt
-
1/2 cup mini chocolate chips
-
1/2 cup cereal marshmallows
Instructions
-
Step 1
Line an 8×8 inch baking pan with parchment paper, leaving an overhang on the sides. Grease the parchment paper lightly. -
Step 2
In a large saucepan, melt the butter over medium heat. Stir in the brown sugar and honey until smooth and well combined. -
Step 3
Remove the saucepan from heat. Stir in the rolled oats, Rice Krispies cereal, crushed graham crackers, and salt. Mix until everything is evenly coated. -
Step 4
Gently fold in the mini chocolate chips and cereal marshmallows. -
Step 5
Transfer the mixture to the prepared baking pan. Press it down very firmly and evenly with a spatula or the bottom of a glass. -
Step 6
Refrigerate for at least 1 hour, or until firm. Once chilled, use the parchment paper overhang to lift the bars out of the pan. -
Step 7
Cut into bars and store in an airtight container at room temperature or in the refrigerator.
Important Information
Nutrition Facts (Per Serving)
It is important to consider this information as approximate and not to use it as definitive health advice.
Allergy Information
Please check ingredients for potential allergens and consult a health professional if in doubt.


