Ultimate Smores Layer Cake Recipe
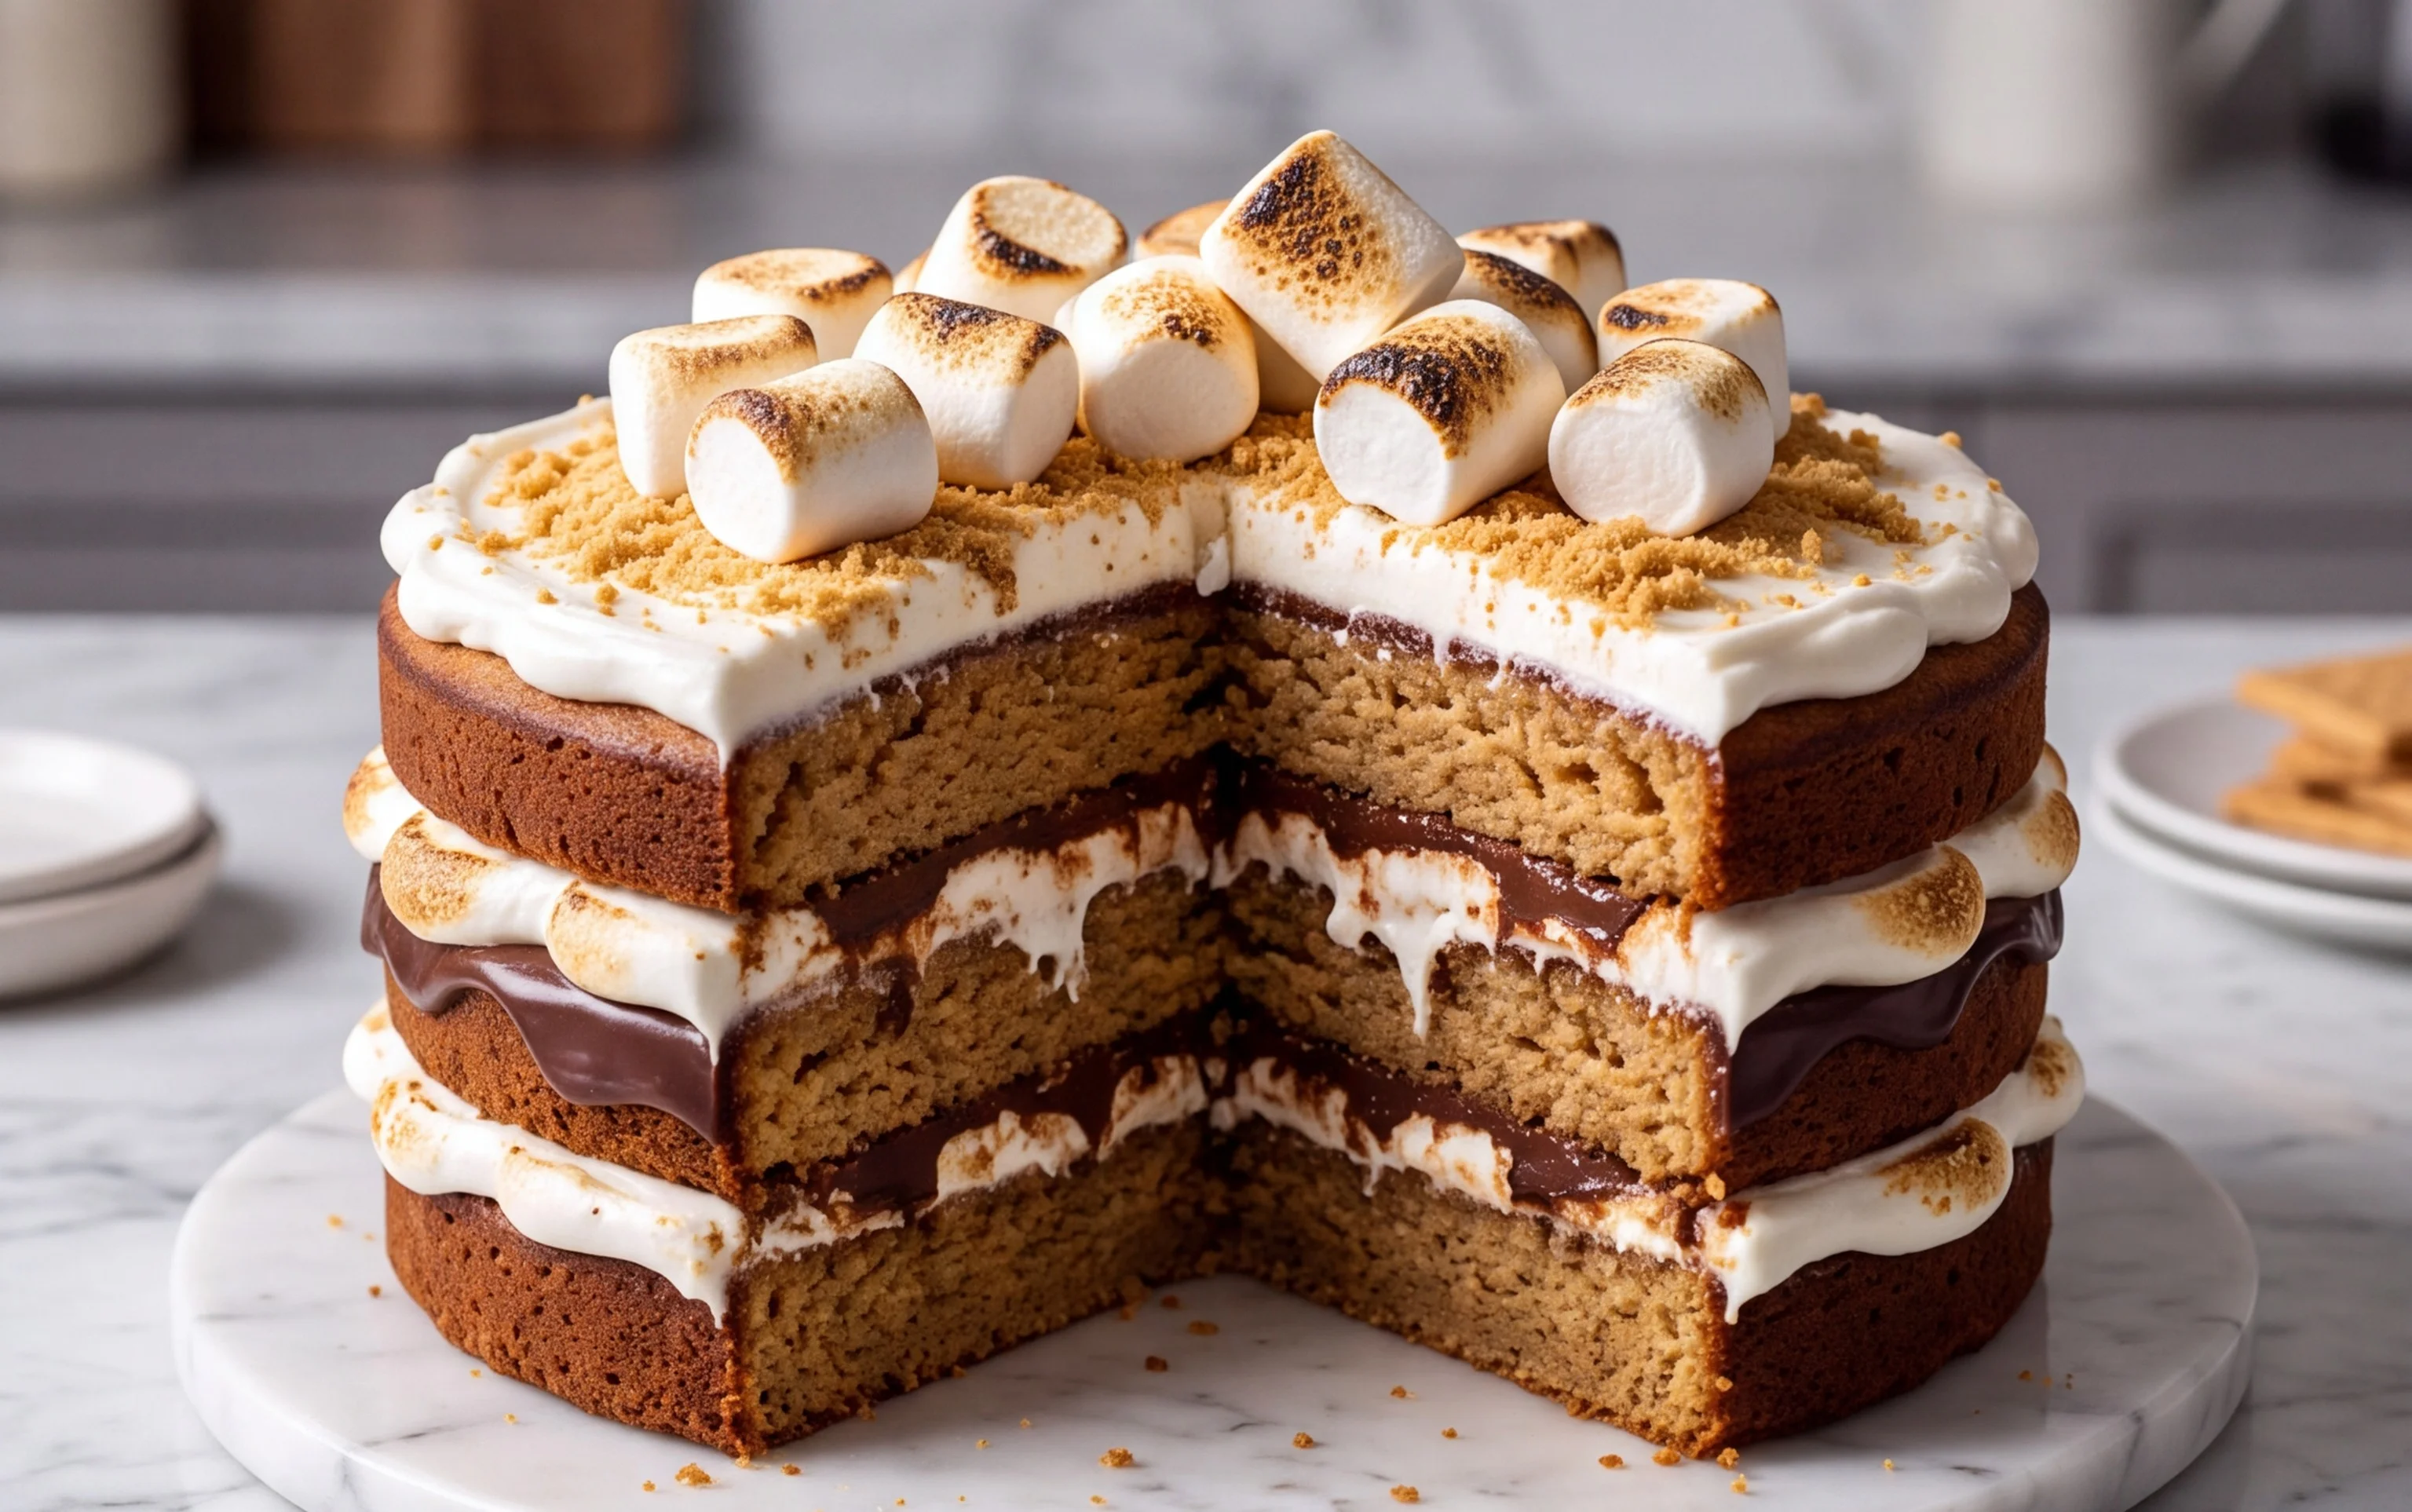
S’mores Layer Cake, oh my goodness, prepare your taste buds for an absolute dream! If you, like me, have ever found yourself staring longingly into the dying embers of a campfire, wishing you could capture that magical moment of gooey marshmallow, rich chocolate, and crunchy graham cracker, then this is the dessert you’ve been waiting for. It’s more than just a cake; it’s a nostalgic journey baked into every bite, a celebration of childhood summers and simple joys. What makes this S’mores Layer Cake so incredibly special is how it elevates those beloved campfire flavors into something elegant and utterly irresistible. We’re talking layers of moist chocolate cake, swirled with a decadent marshmallow frosting, and finished with a crunchy graham cracker crumble. It’s the ultimate comfort dessert that brings a smile to everyone’s face, and I can’t wait to share how we’re going to make this incredible S’mores Layer Cake together.
Ingredients:
- 65 grams (1/2 cup or 4-5 sheets) graham cracker crumbs
- 240 grams (2 cups) all-purpose flour (spooned and leveled)
- 10 grams (1 Tbsp) baking powder
- 1/2 tsp fine sea salt
- 1/4 tsp cinnamon (optional)
- 56 grams (1/4 cup) unsalted butter (room temperature)
- 120 mL (1/2 cup) canola oil
- 100 grams (1/2 cup) granulated sugar
- 200 grams (1 cup) light brown sugar (lightly packed)
- 1/2 Tbsp vanilla extract
- 3 large eggs (room temperature)
- 240 mL (1 cup) buttermilk (room temperature)
- 113 grams (1/2 cup/4 oz) dark chocolate chips
- 120 mL (1/2 cup/4 oz) heavy cream
- 6 (200g) large egg whites (room temperature)
Get ready to embark on a deliciously nostalgic journey with this S’mores Layer Cake! We’re taking all the beloved flavors of campfire s’mores – the crisp graham cracker, the gooey chocolate, and the toasted marshmallow – and transforming them into an impressive, multi-layered dessert. This cake is perfect for birthdays, holidays, or just because you deserve a truly decadent treat. The key to its success lies in its distinct layers, each offering a unique texture and taste that harmonizes beautifully with the others. We’ll start with a tender, spiced cake base, then move on to a rich chocolate ganache, and finally, crown it all with a cloud-like toasted marshmallow meringue. It sounds complex, but I’ll break it down for you step-by-step to ensure a triumphant bake.
Preparing the S’mores Cake Layers
Dry Ingredients:
First things first, let’s get our dry ingredients prepped. In a medium bowl, whisk together the all-purpose flour, baking powder, fine sea salt, and the optional cinnamon. The cinnamon adds a subtle warmth that really enhances the s’mores flavor profile, but feel free to omit it if you prefer a purer s’mores taste. Make sure your flour is spooned into the measuring cup and leveled off with a straight edge; this ensures accuracy and prevents a dense cake. Whisking these dry ingredients together thoroughly ensures that the leavening agents and salt are evenly distributed, leading to a consistent rise and flavor throughout the cake.
Wet Ingredients and Creaming:
In a large bowl, using an electric mixer, cream together the room-temperature unsalted butter, canola oil, granulated sugar, and light brown sugar. Creaming is a crucial step. It involves beating the butter and sugars until the mixture is light, fluffy, and pale yellow. This process incorporates air into the batter, which contributes significantly to the cake’s tender crumb and overall volume. Beat this mixture for about 3-5 minutes, scraping down the sides of the bowl occasionally. Next, beat in the vanilla extract until just combined. Add the room-temperature large eggs, one at a time, beating well after each addition. It’s important that your eggs are at room temperature; this helps them emulsify better with the fat and sugar, resulting in a smoother batter and a more uniform cake texture. If your eggs are cold, you can place them in a bowl of warm water for about 10 minutes.
Combining Wet and Dry:
Now, we’ll alternate adding the dry ingredients and the buttermilk to the creamed butter and sugar mixture. Begin by adding about one-third of the dry ingredients and mix on low speed until just combined. Then, add half of the buttermilk and mix again until incorporated. Continue this process, adding another third of the dry ingredients, the remaining buttermilk, and finally the last of the dry ingredients. Be careful not to overmix the batter at this stage. Overmixing develops the gluten in the flour too much, which can lead to a tough cake. Mix only until no streaks of flour remain. The batter will be relatively thick, which is exactly what we’re looking for.
Baking the Cake Layers:
Preheat your oven to 175°C (350°F). Prepare two 8-inch (20 cm) round cake pans by greasing and flouring them, or lining them with parchment paper. Divide the batter evenly between the prepared pans. Smooth the tops with a spatula. Bake for 30-35 minutes, or until a wooden skewer inserted into the center of the cakes comes out clean. The baking time can vary slightly depending on your oven, so keep an eye on them. Once baked, let the cakes cool in the pans for about 10-15 minutes before inverting them onto a wire rack to cool completely. It’s essential that the cakes are fully cooled before you assemble the cake, otherwise, your ganache and meringue might melt.
Crafting the Chocolate Ganache
Making the Ganache:
While the cake layers are cooling, let’s prepare the luscious chocolate ganache. In a heatproof bowl, place the dark chocolate chips. In a small saucepan, heat the heavy cream over medium heat until it just begins to simmer around the edges. Do not let it boil. Pour the hot cream over the chocolate chips. Let it sit for 5 minutes without stirring. This allows the heat from the cream to gently melt the chocolate. After 5 minutes, whisk the mixture gently starting from the center and working your way outwards until it’s completely smooth and glossy. This will result in a rich, decadent chocolate sauce that will be a delightful surprise between your cake layers. Let the ganache cool at room temperature until it thickens to a spreadable consistency, which should take about 30-60 minutes. You want it thick enough to hold its shape when spread but still pourable enough to coat the cake.
Assembling the Toasted Marshmallow Meringue
Preparing the Graham Cracker Base:
This is where we bring in that signature s’mores crunch. For each cake layer, we’ll be incorporating graham cracker crumbs. You can do this by gently folding about half of the graham cracker crumbs into the cake batter in each pan before baking, or by sprinkling them on top of the cake layers after they’ve cooled and before frosting. For an even more robust s’mores experience, you can mix the graham cracker crumbs with a tablespoon or two of melted butter and press them into the bottom of your cake pans before adding the batter. I prefer to gently fold them into the batter, ensuring an even distribution of that delightful graham cracker essence throughout the cake.
Creating the Toasted Marshmallow Meringue:
This is the showstopper! In a clean, dry bowl of a stand mixer (or using a hand mixer), whisk the room-temperature egg whites until soft peaks form. Gradually add the granulated sugar, about a tablespoon at a time, beating continuously until stiff, glossy peaks form and the sugar is completely dissolved. To test if the sugar is dissolved, rub a small amount of the meringue between your fingers; you shouldn’t feel any grittiness. This is a Swiss meringue, and the heat from the sugar helps to cook the egg whites, making it safe to eat without further cooking.
Toasting the Meringue:
Once your meringue is beautifully formed, it’s time for the magic. You have a couple of options for toasting. The most traditional and visually appealing method is to use a kitchen torch. Carefully spread the meringue over the top of your assembled cake, ensuring an even coating. Then, using the kitchen torch, gently toast the meringue until it’s golden brown and beautifully caramelized, just like a perfectly toasted marshmallow. If you don’t have a torch, you can carefully place the cake under a preheated broiler for a minute or two, watching it extremely closely to prevent burning. The goal is a lovely golden hue, not charred edges.
Putting It All Together
Start with one completely cooled cake layer. Spread a generous amount of the thickened chocolate ganache over the top, ensuring you go all the way to the edges. Carefully place the second cake layer on top of the ganache. Now, frost the entire cake – top and sides – with the toasted marshmallow meringue. Don’t worry about making it perfectly smooth; some rustic peaks and swirls will add to its charm. Once the cake is frosted, use your kitchen torch or the broiler to toast the meringue to your desired level of golden-brown perfection. This S’mores Layer Cake is a labor of love, but every delicious bite will be worth the effort. Enjoy!
Conclusion:
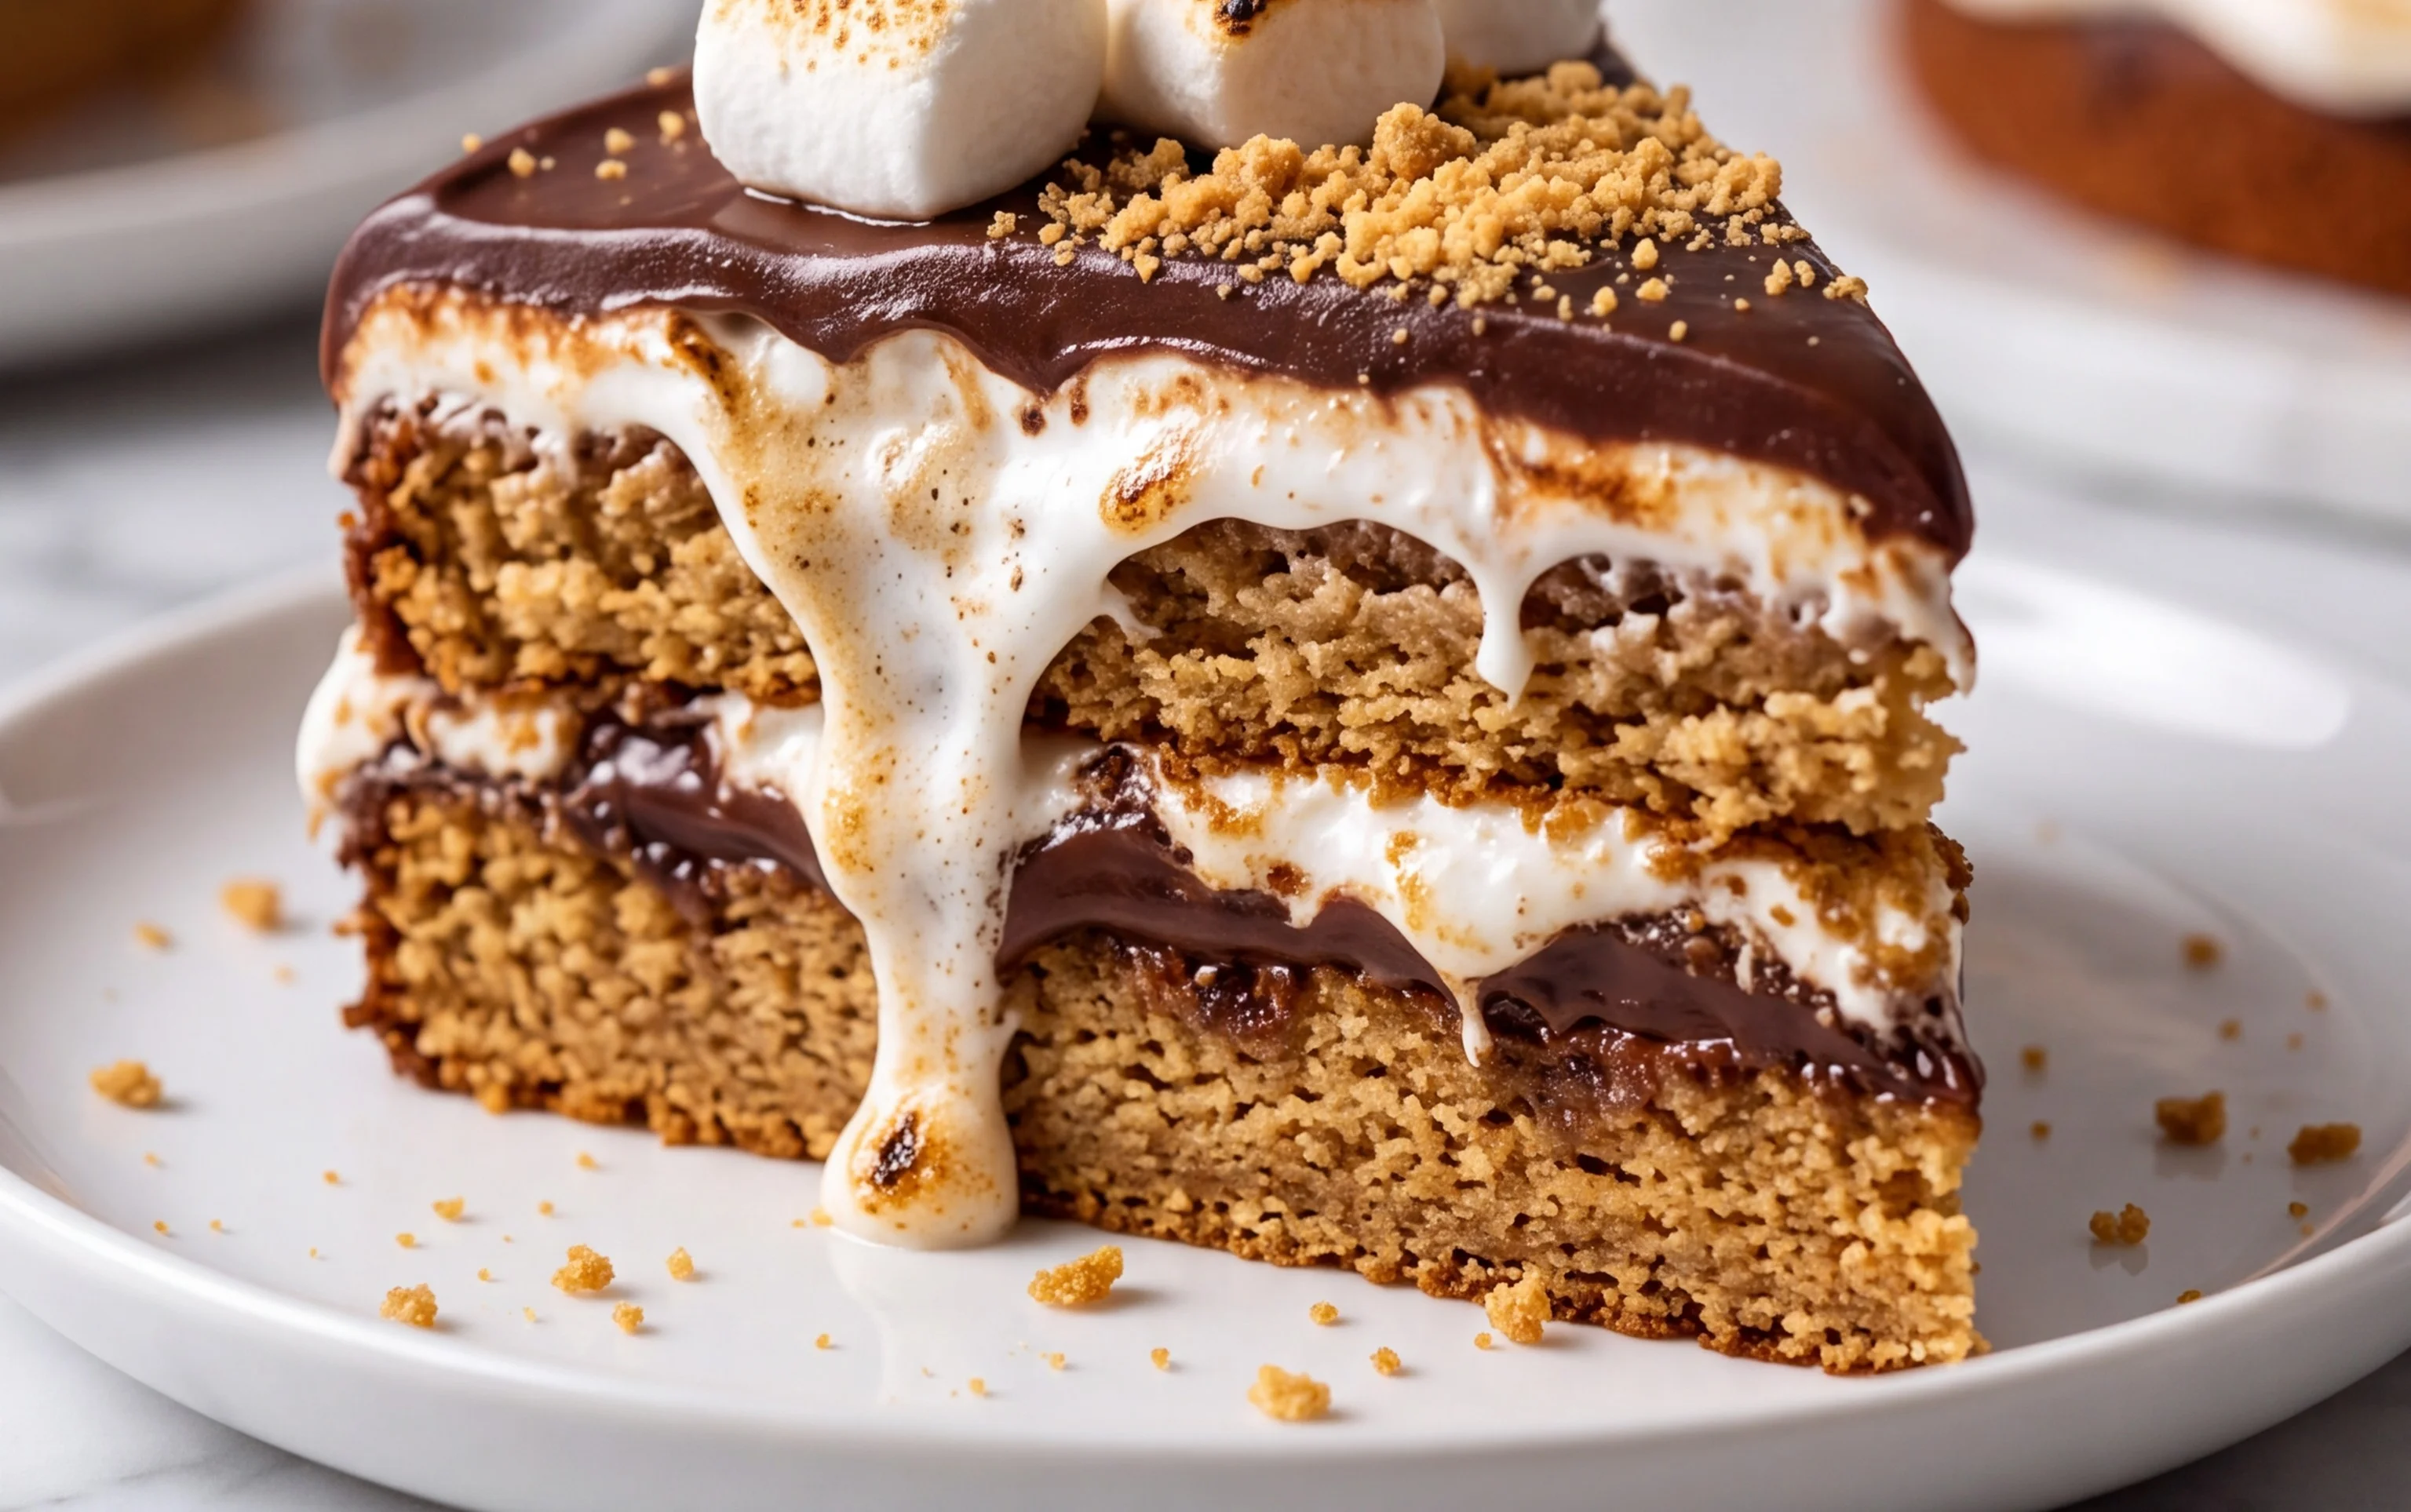
And there you have it – a recipe for a truly spectacular S’mores Layer Cake! This dessert is an absolute showstopper, perfect for birthdays, holidays, or just when you’re craving a taste of nostalgic campfire magic. What makes this S’mores Layer Cake so incredible is the harmonious blend of textures and flavors: the rich, moist chocolate cake layers, the gooey, melted marshmallow frosting, and the satisfying crunch of graham cracker crumbs. It’s a symphony for your taste buds and a delight to behold. For serving, I love pairing a generous slice with a cold glass of milk, but it’s also fantastic alongside a scoop of vanilla bean ice cream. Feel free to get creative with variations! You could add a chocolate ganache drip for extra decadence or even incorporate mini chocolate chips into the cake batter itself. Don’t be intimidated by the layers; the process is surprisingly straightforward and incredibly rewarding. I truly encourage you to give this S’mores Layer Cake a try – it’s guaranteed to be a hit!
Frequently Asked Questions:
Can I make this S’mores Layer Cake ahead of time?
Yes, you absolutely can! The cake layers can be baked a day in advance and stored tightly wrapped at room temperature. The marshmallow frosting is best made closer to assembly, but you can prepare some components like crushing the graham crackers ahead of time. Once assembled, it’s best enjoyed within a day or two for optimal freshness of the frosting.
What if I don’t have a stand mixer for the frosting?
No problem at all! While a stand mixer makes whipping the marshmallow frosting easier, you can certainly achieve a fluffy consistency with a handheld electric mixer and a bit of patience. Make sure to use a large bowl and scrape down the sides frequently.
How can I achieve perfectly toasted marshmallows on top?
For that authentic toasted marshmallow look and flavor, you have a few options. A culinary torch is the most precise method. Alternatively, you can carefully place the frosted cake under a broiler for a very short time, watching it constantly to prevent burning. Another fun option is to toast individual marshmallows separately and then stick them onto the frosted cake.
S’mores Layer Cake
A decadent layer cake inspired by the classic campfire treat, featuring graham cracker crust, chocolate cake, and toasted marshmallow frosting.
Ingredients
-
65 grams graham cracker crumbs
-
240 grams all-purpose flour
-
10 grams baking powder
-
1/2 tsp fine sea salt
-
1/4 tsp cinnamon
-
56 grams unsalted butter
-
120 mL canola oil
-
100 grams granulated sugar
-
200 grams light brown sugar
-
1/2 Tbsp vanilla extract
-
3 large eggs
-
240 mL buttermilk
-
113 grams dark chocolate chips
-
120 mL heavy cream
-
6 large egg whites
Instructions
-
Step 1
Preheat oven to 350°F (175°C). Grease and flour two 8-inch cake pans. Line the bottoms with parchment paper. Combine graham cracker crumbs and a pinch of sugar for the base. -
Step 2
In a large bowl, whisk together flour, baking powder, salt, and cinnamon (if using). In a separate bowl, cream together butter, granulated sugar, and brown sugar until light and fluffy. -
Step 3
Beat in vanilla extract and eggs one at a time. Gradually add the dry ingredients alternately with the buttermilk, beginning and ending with the dry ingredients, mixing until just combined. -
Step 4
Divide batter evenly between prepared pans and bake for 30-35 minutes, or until a wooden skewer inserted into the center comes out clean. Let cool in pans for 10 minutes before inverting onto a wire rack to cool completely. -
Step 5
For the chocolate ganache: Heat heavy cream until simmering, then pour over dark chocolate chips. Let sit for 5 minutes, then whisk until smooth. -
Step 6
For the toasted marshmallow frosting: Beat egg whites until frothy. Gradually add sugar and continue beating until stiff, glossy peaks form. Toast the peaks of the frosting with a kitchen torch. -
Step 7
Assemble the cake: Place one cake layer on a serving plate. Spread with chocolate ganache. Top with the second cake layer. Frost the entire cake with the toasted marshmallow frosting.
Important Information
Nutrition Facts (Per Serving)
It is important to consider this information as approximate and not to use it as definitive health advice.
Allergy Information
Please check ingredients for potential allergens and consult a health professional if in doubt.


